|
Drip irrigation is a very effective way to water your garden. It supplies water directly to the plant's roots, reducing evaporation and water loss that can be caused by wind and high temperature.
Drip irrigation also helps to reduce weeds and control fungal diseases, like powdery mildew and black spot, because the water only goes to where the plant needs it, not sitting and pooling elsewhere. That's why drip irrigation is great for water conservation. And, if you automate your irrigation system (simple with one of our timers) you won't even need to think about it.
Effective drip irrigation made simple
Select your area: Choose where you'd like the system installed... vegetable garden, shrubs around the house, flower beds on the terrace etc. Drip irrigation works well in all of these situations.
Decide on your water source: An outdoor tap can be used for drip irrigation (subject to your water company regulations). With the hose pipe ban in place (in the South of England at the time of writing), drip irrigation is the only method of irrigation allowed. However, it is worth checking with your local water provider.
So having found your water source, buy a tap connector to connect to the drip pipe, or even take the water to the area to be watered with a standard garden hose pipe.
Plan a route for your drip pipe - check your garden layout:
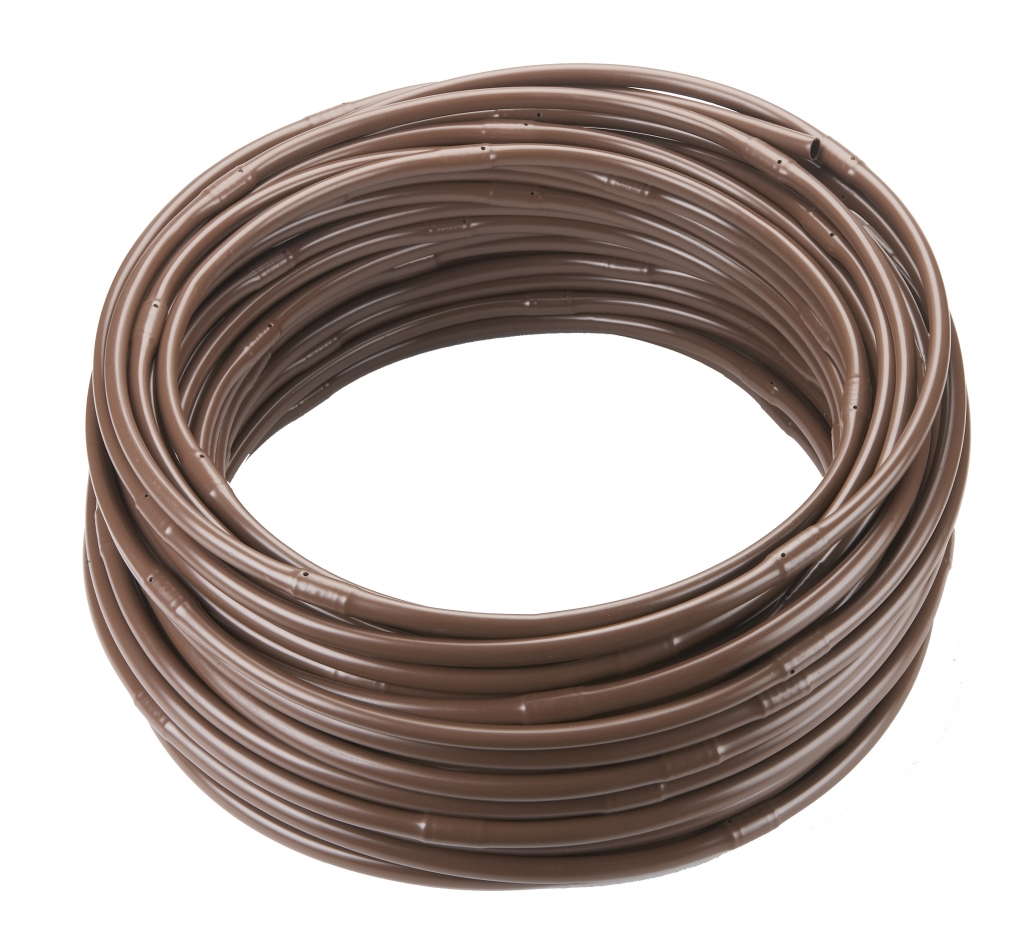
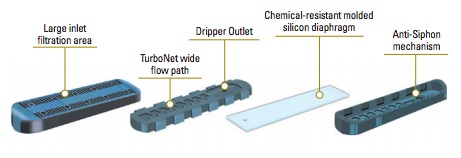
Drip tube is the simplest form of watering. It is simply a continuous tube with a moulded dripper outlet glued on to the inside wall of the pipe at 30cm intervals. All you will see is a hole on the outer wall. Water drips out at a constant, even rate along the pipe. Drip irrigation pipe is avaliable in 25m, 50m and 100m rolls. There shouldn't be a problem running a 100m roll from 1 tap supply.
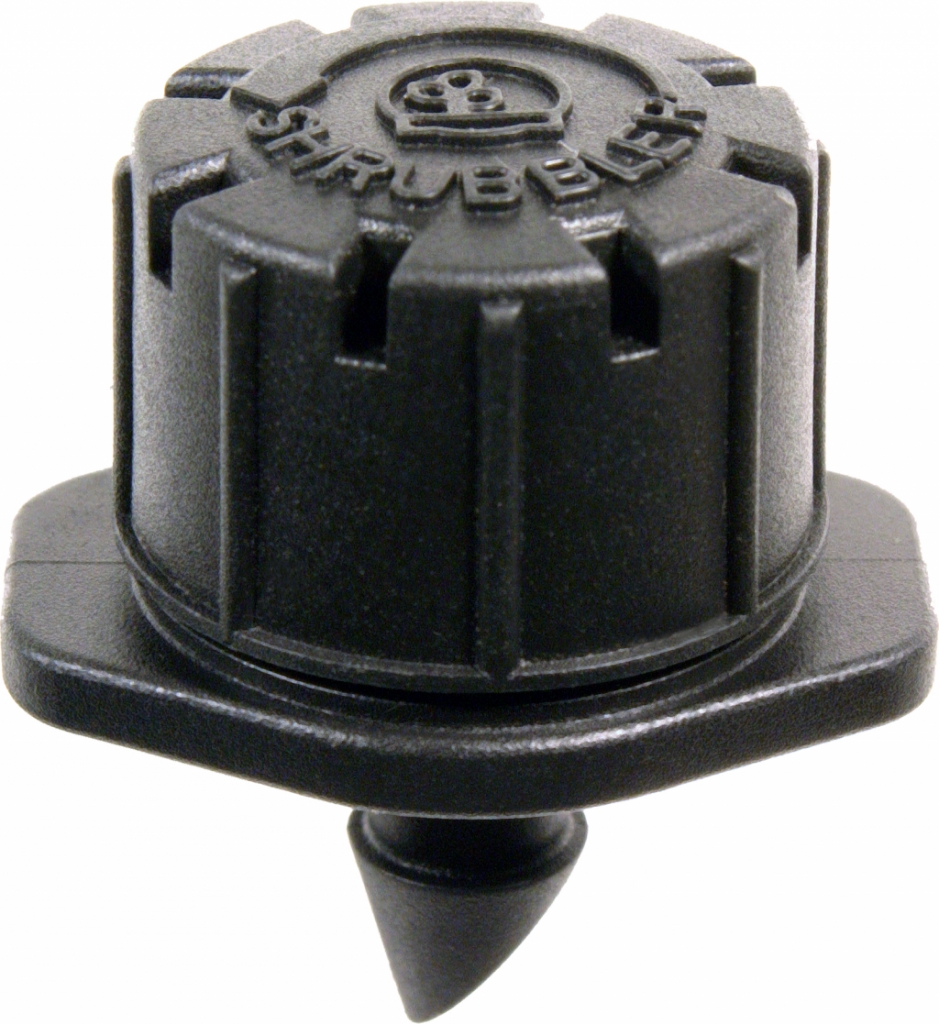
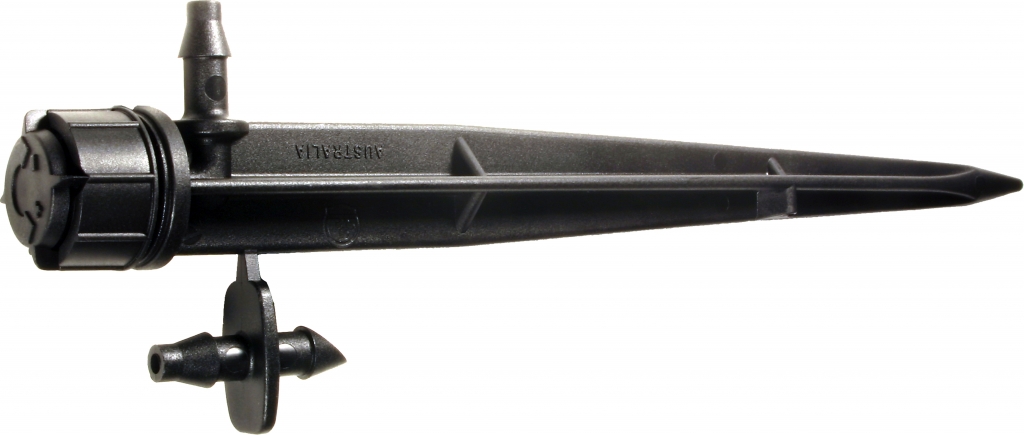
Anatomy of a Dripper
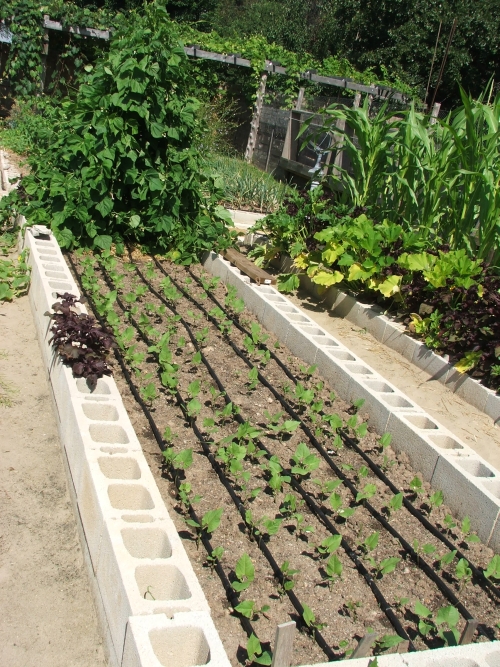
Lay your drip pipe along the border, snaking it around the plants, and ensuring an outlet is close to each root. On wider borders, lay lines across the border at 30 - 50 cm spacings. (For sandy soils, the pipe needs to be more closely spaced than on clay soils.) For large shrubs and trees, create a ring around the plant. This ensures a number of drips around the plant - so more watering.
Use barbed push-in elbows, tees, joiners and plugs to create your layout
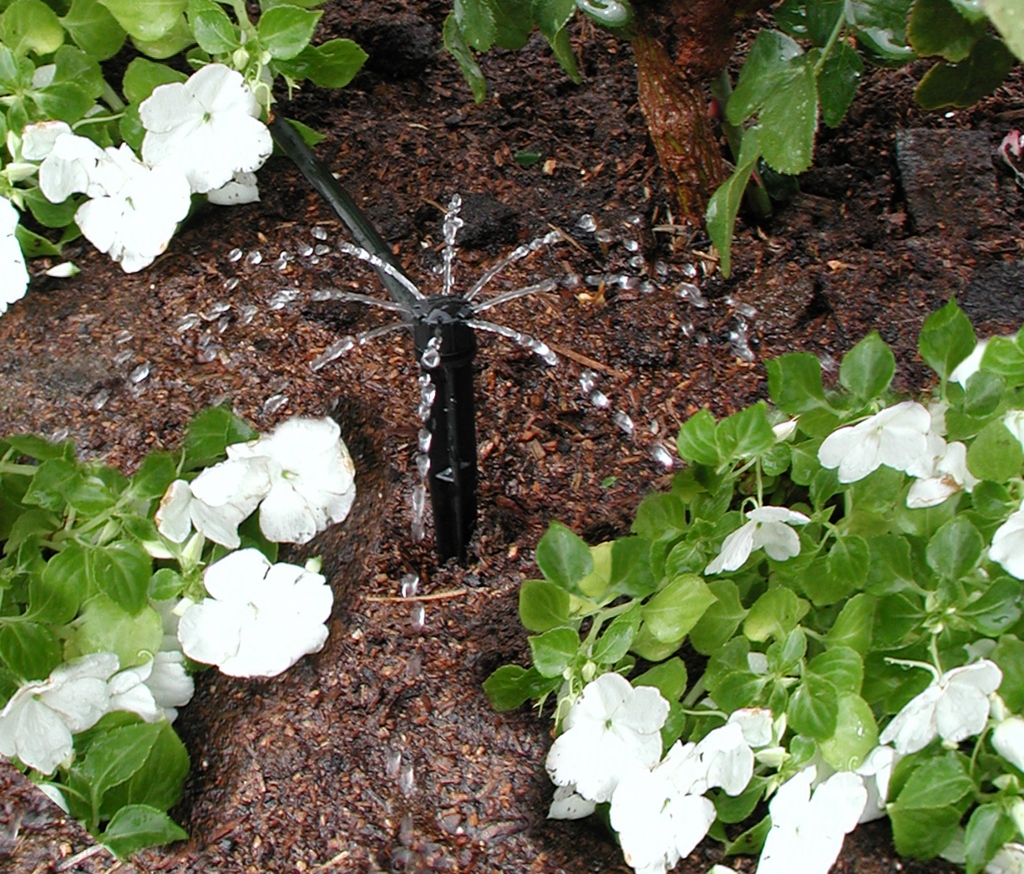
For watering of specific shrubs and trees, you can use an individual dripper fitted to a length of 16mm plain pipe positioned close to each plant. Lay your plain pipe to each plant to be watered, punch a hole at the outlet point into the pipe and insert your dripper. This method ensures the water is delivered exactly where you want it. The plain pipe can be buried under the soil or mulch where you need it hidden from view, useful if you are crossing a lawn, for instance.
Buy drip irrigation |

 For an Automated Drip System: you'll need a